


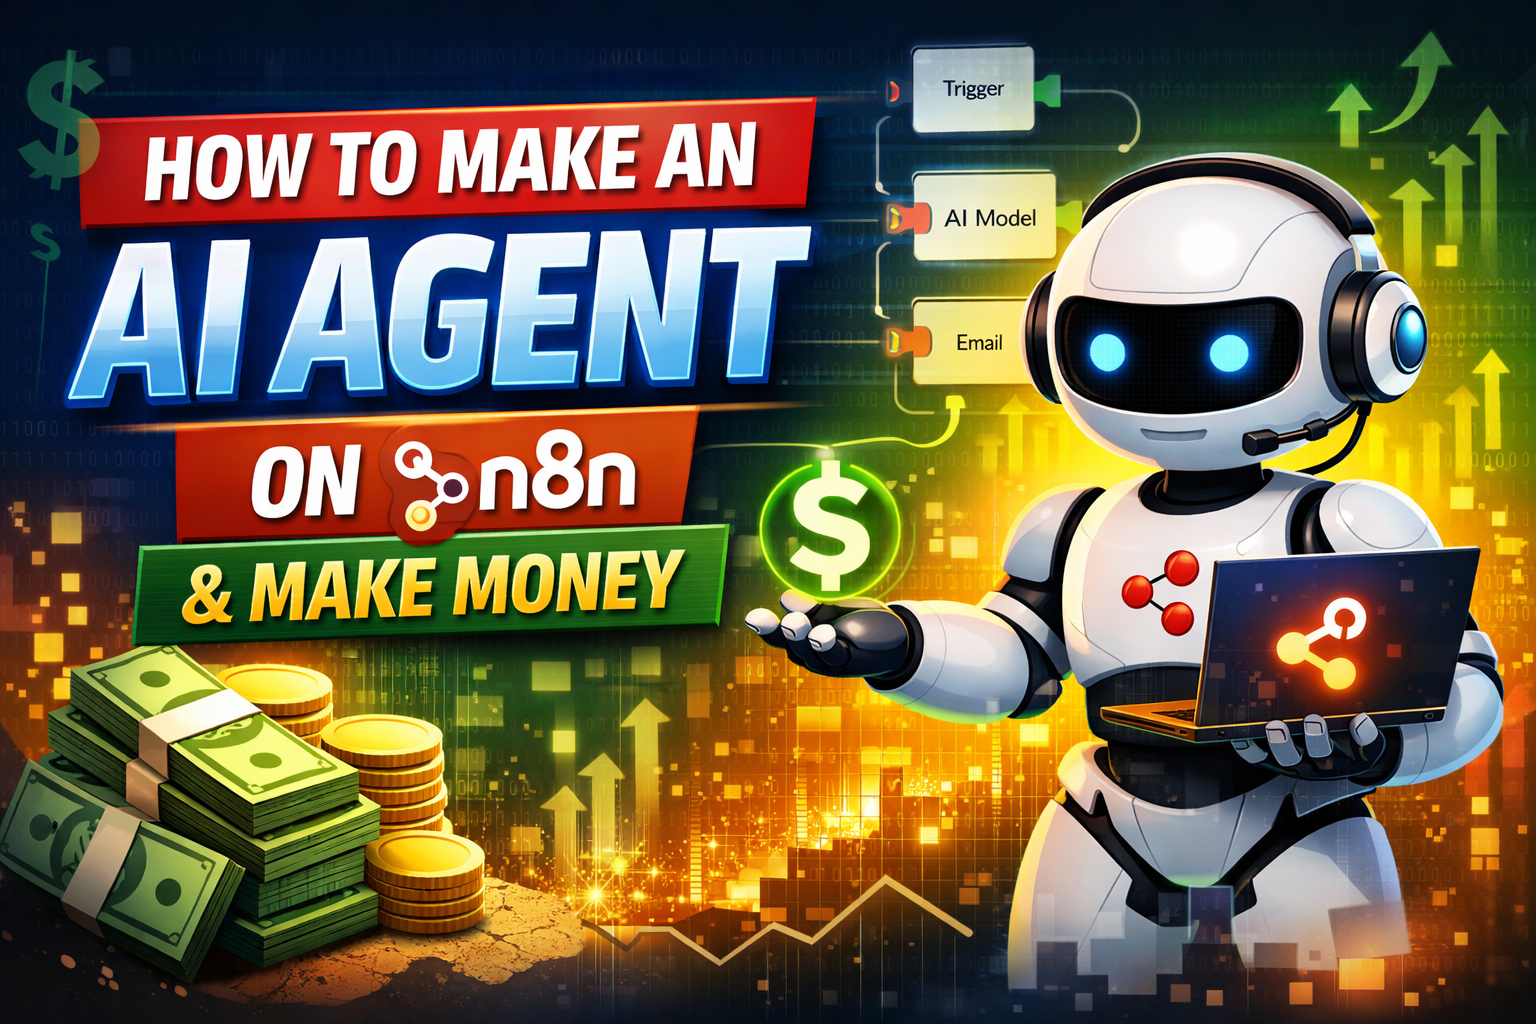
Artificial Intelligence agents are becoming one of the most profitable digital tools today. They can automate work, answer questions, support customers, write content, analyze data, and run entire business processes automatically. With n8n, you don’t need advanced coding experience to build a powerful AI agent capable of doing real tasks on autopilot.
In this detailed article, you will learn:
- What an AI agent is
- Why n8n is perfect for building them
- Step-by-step instructions to build an actual AI agent
- How to deploy and connect it
- And finally: how to make real income with your agent
Everything is explained clearly, smoothly, and with simple language—like guiding someone through an instructional training process.
1. Understanding What an AI Agent Is

Before we start building, imagine an AI agent as a digital worker.
It can:
- Take instructions
- Think using an AI model
- Access tools (email, Google Sheets, APIs, websites)
- Make decisions
- Complete tasks automatically
- Respond instantly to users
An AI agent is not just a chatbot. It can perform actions, run workflows, and carry out tasks like a small digital employee. n8n provides the structure (like the skeleton), while your AI API provides the brain.
2. What You Need Before Starting

To make the entire building process smooth, prepare these first.
n8n Account
You can choose:
- n8n Cloud – easiest and quickest
- Self-hosted – most flexible and economical
AI API Key
Choose any:
- OpenAI (GPT models)
- Groq (fast + cheap)
- Anthropic (Claude models)
- Google Gemini
A Purpose for the AI Agent
Ask yourself:
- What problem will this agent solve?
- Who will use it?
- Will it save time or make money?
Popular agent types include:
- Customer support agent
- Copywriting assistant
- Lead-generation agent
- Data analysis agent
- Automation and email reply agent
Once these three things are ready, we can start building.
3. Step-by-Step: How to Build an AI Agent on n8n

The following steps are written like a calm, structured training guide, helping you move through the process smoothly and without confusion.
Step 1: Create a New Workflow
- Log in to n8n
- Click “New Workflow”
- Name it something clear, such as:
AI Agent – Automated Support System
Think of this workflow as the “workspace” where all parts of your AI agent will connect.
Step 2: Add a Trigger to Start the Agent
Your agent needs to know when to run. You must give it an entry point.
Common options:
Webhook Trigger (Most Useful)
This makes your AI agent respond whenever someone sends a message through:
- a website
- a chatbot
- an app
- a form
- or another automated system
Steps:
- Add a node
- Search “Webhook”
- Select Webhook Trigger
- Set method to POST
- Copy the webhook URL
This will be your agent’s “front door.”
Step 3: Add an AI Model Node
This is the “brain” inside your digital agent.
Steps:
- Click Add Node
- Search “OpenAI,” “LLM,” “AI Model,” or your provider
- Insert your API key
- Choose the model (e.g., GPT-4o-mini, Claude, Gemini)
- Set it to Chat Completion or Text Generation
What this step does:
It allows your agent to understand questions, generate responses, and make decisions.
Step 4: Add the System Prompt (Agent’s Rules + Identity)
Just as a medical animation uses clear labels and a calm instructional tone, your agent also needs precise guidance.
In the System Prompt field, write:
- What the agent is
- How it should behave
- What tasks it must do
- What it should avoid
Example:
You are an AI assistant designed to help users with customer support questions. Always speak in simple and friendly language. Summarize details clearly.
If you don’t know the answer, ask for more information. Keep responses short and helpful.
Strong instructions = consistent agent behavior.
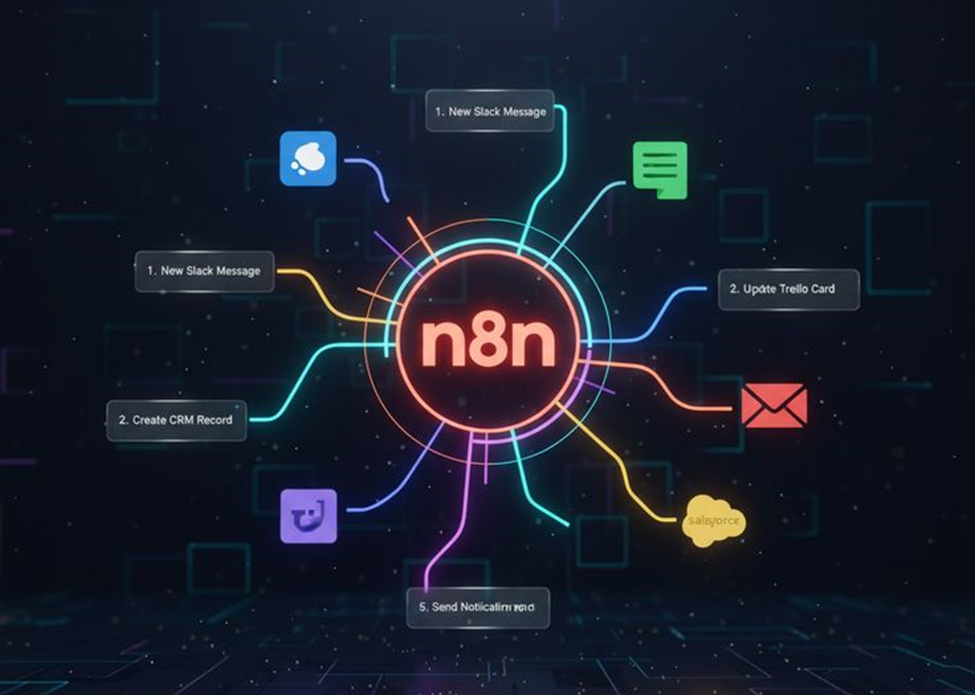
Step 5: Add Tools (Action Nodes)
An agent becomes powerful only when it can take action, not just talk.
Here are common action nodes you can connect:
Google Sheets Node
- Save customer data
- Log conversations
- Track leads
Email Node
- Send automated replies
- Notify you about important messages
Webhook Response Node
- Return instant answers to users
HTTP Request Node
- Call other APIs
- Trigger actions
- Connect to third-party apps
Notion / Airtable Node
- Store structured information
- Build databases
You can add as many action nodes as you need. They are like tools in your agent’s toolkit.
Step 6: Connect and Arrange the Workflow
A good workflow should look:
- clean
- orderly
- easy to follow
- well-labeled
Just as in an educational medical animation, clarity is key. Arrange the nodes in a left-to-right flow:
- Trigger
- AI brain
- Action tools
- Output or response
Label each node for future maintenance.
Step 7: Test the Agent
Click Execute Workflow.
Send a test message through the webhook or trigger.
Check:
- Does the AI understand the message?
- Does it respond correctly?
- Do the tools (email, sheets, etc.) work?
- Does it complete the task smoothly?
This is like a clinical dry-run—ensuring everything works before going live.
Step 8: Deploy the Agent
Turn the workflow ON.
Your AI agent is now:
- live
- accessible
- ready to respond
- ready to work automatically
You can connect it to:
- chat widgets
- WhatsApp Bots
- Telegram Bots
- your website
- Chrome extensions
- no-code apps
- mobile apps
- your business backend
4. How to Make Money With Your n8n AI Agent

Now that the agent is built, let’s focus on monetization.
Here are practical methods that people are already using successfully.
Method 1: Sell AI Automation Services to Businesses
Businesses want automation but don’t know how to set it up.
You can charge for:
- Building AI customer service bots
- Setting up internal task bots
- Creating email automation
- Building workflow systems
Pricing models:
- $100–$1,000 per project
- Monthly recurring fees
- Maintenance fees
Method 2: Create a Paid AI Tool
Build a specific AI service and charge users to access it.
Examples:
- AI resume generator
- AI research assistant
- AI lead-qualifier
- AI marketing content creator
You can sell access through:
- Stripe
- PayPal
- Gumroad
- Lemon Squeezy
Your n8n agent can run behind the scenes doing all the work.
Method 3: Offer Lead-Generation Services
Your AI agent can:
- Scrape data
- Filter best leads
- Send follow-up emails
- Book appointments
You can sell:
- Qualified leads
- Booked meetings
- Automated outreach systems
This is one of the most profitable uses.
Method 4: Sell Fully-Automated Customer Support Systems
Small businesses love this because it saves time and staff costs.
Your agent can:
- Answer FAQs
- Solve simple issues
- Process refunds
- Send emails automatically
- Collect customer info
Charge a monthly fee for maintaining it.
Method 5: Create AI Agents for Freelancers and Creators
Examples:
- AI editor for YouTubers
- AI planner for social media creators
- AI content scheduler
- AI reply tool for comments and emails
You can sell these as SaaS-style subscriptions.
5. Professional Tips to Build a Reliable Agent

Following a smooth, clinical-style instructional approach:
✔ Keep the workflow clean
Use labels and proper spacing.
✔ Use clear, simple instructions
AI understands better with clarity.
✔ Add error handling
Use “IF” nodes to prevent workflow breaks.
✔ Document your workflow
Helps with future edits and client work.
✔ Optimize for speed
Avoid unnecessary nodes.
6. Final Thoughts
n8n gives you the power to build sophisticated AI agents without needing deep programming skills. By combining AI models with automation nodes, you can create digital workers that:
- operate 24/7
- answer questions
- complete tasks
- produce content
- run processes
- and most importantly—generate income
Whether you are a freelancer, business owner, or someone exploring AI opportunities, building an AI agent on n8n is one of the most practical and profitable skills you can learn today.


hi